Attachable Extenders
Side-mounted screens for compact multi-window work.
Explore TUTT’s portable monitors for dual-screen laptop use in Canada, including dual screen extenders, single-cable laptop screen extenders, stacked portable monitors, attachable laptop screen extenders, and standalone dual portable monitors. Users searching for a USB laptop screen extender in Canada can compare dual-screen options for MacBook, Windows laptops, travel workstations, business productivity, and compatible devices.
Side-mounted screens for compact multi-window work.
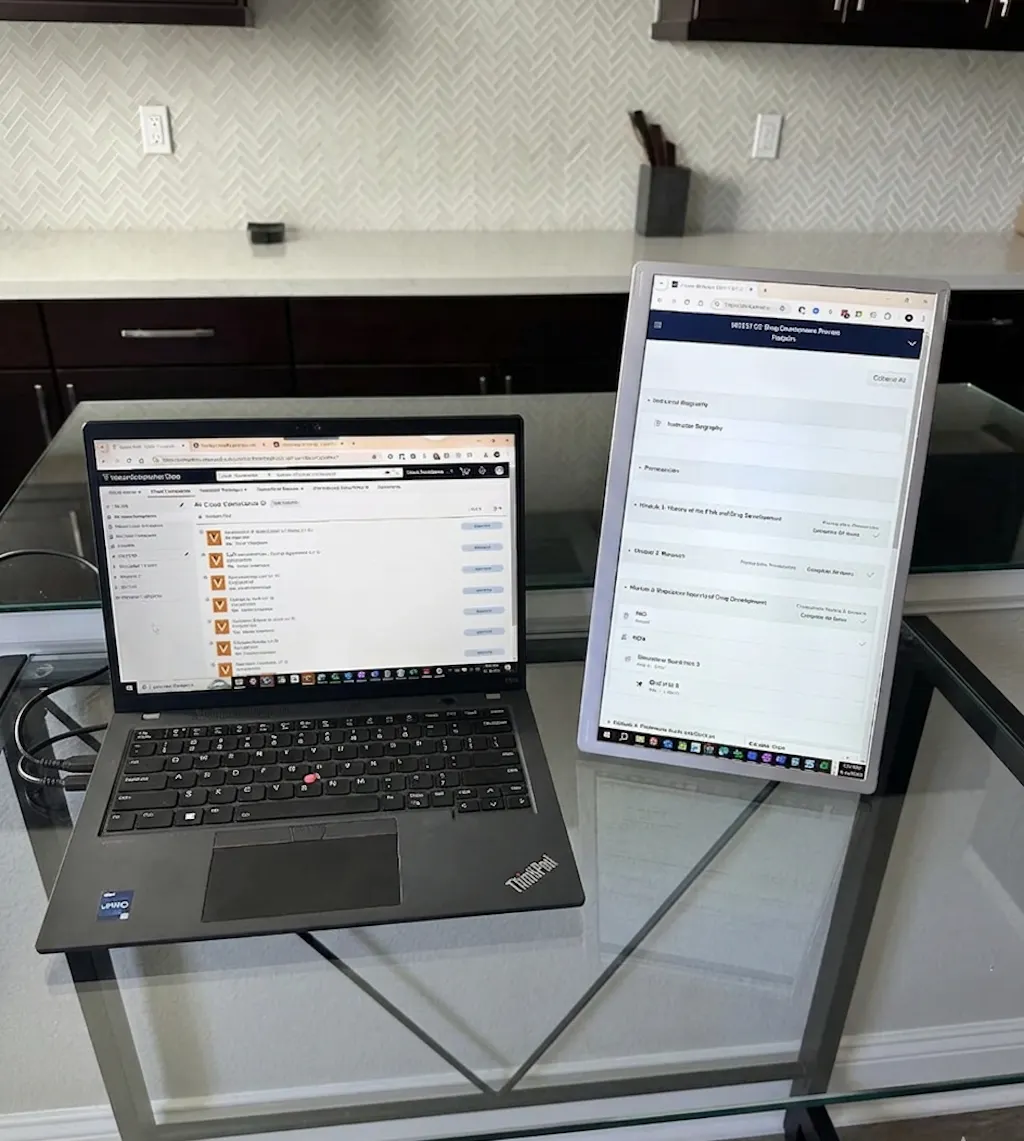
Independent layouts for desks and flexible positioning.
Vertical dual-screen setups for limited desk width.
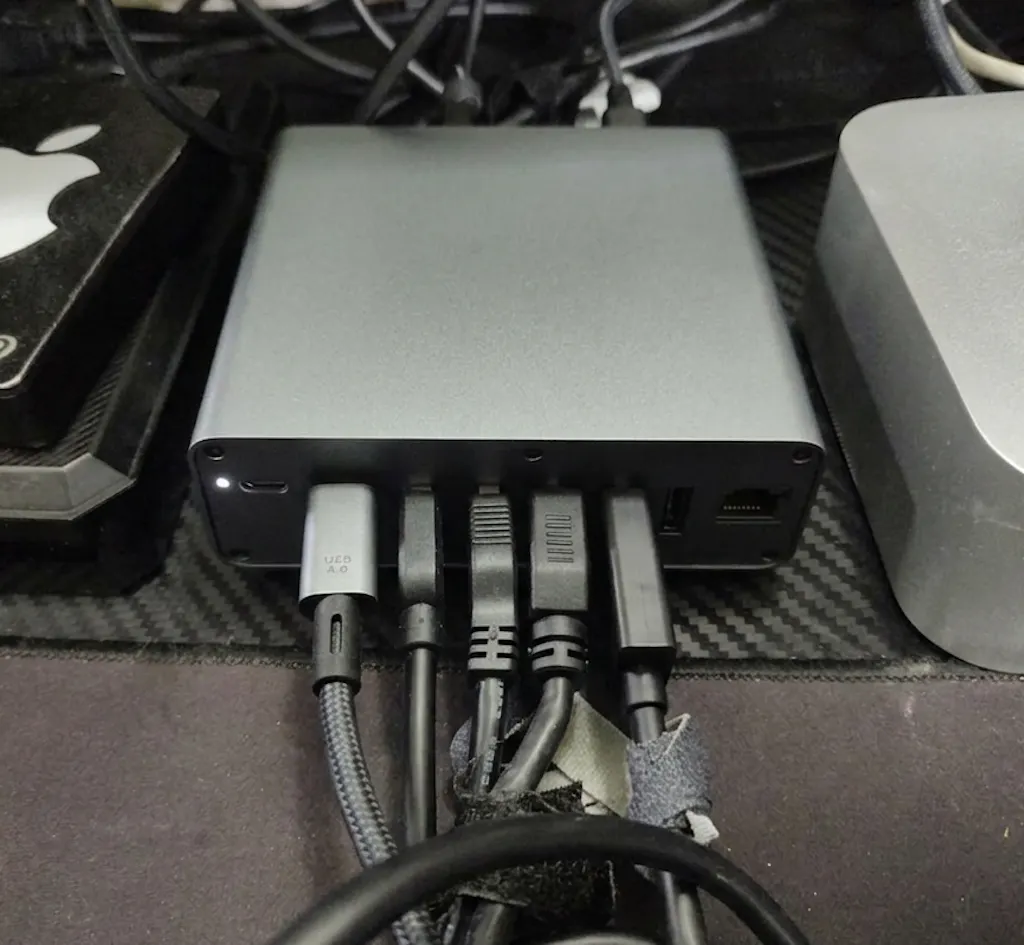
Cleaner USB-C setups when video and power are supported.
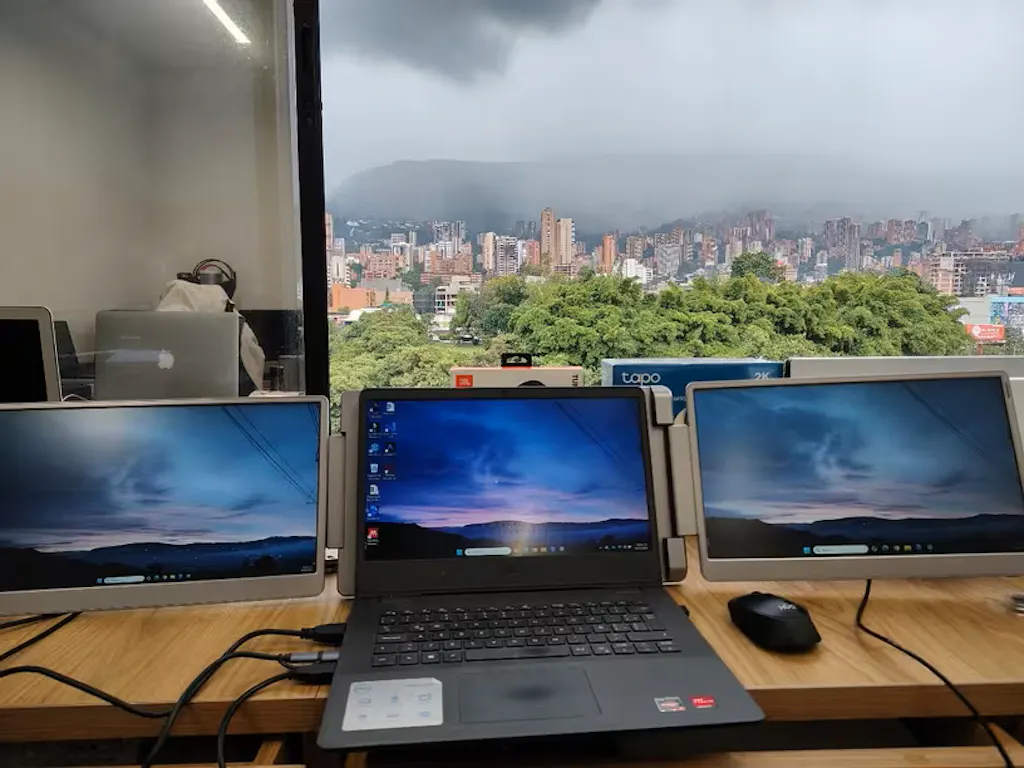
Portable dual monitor setups for mobile productivity.
Dual displays for spreadsheets, dashboards, and operations.

Driver Installation Notice: Always Use the Latest Driver
Some TUTT portable monitors require driver installation. Because macOS, iPadOS, and Windows are updated regularly, the driver included in the box may not be the latest version. If setup or display issues occur, please install the most recent driver from the product page or contact Technical Support.
Choose your dual screen extender by checking size, compatibility, and screen orientation.

 Bee Logic Powered by BadBee.io
Dual Screen Finder
Compare dual screen portable monitors in one place, review product images, connection type, setup notes, technical specifications, compatibility signals, and use cases before choosing.
Compare dual screens
View all media
Check connection type
Review setup notes
Open Finder
Bee Logic Powered by BadBee.io
Dual Screen Finder
Compare dual screen portable monitors in one place, review product images, connection type, setup notes, technical specifications, compatibility signals, and use cases before choosing.
Compare dual screens
View all media
Check connection type
Review setup notes
Open Finder

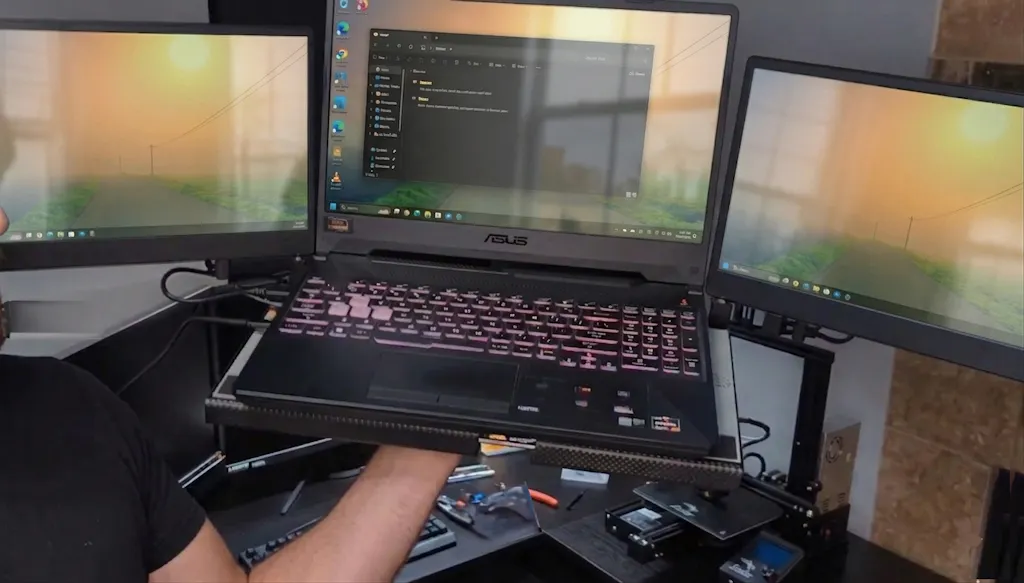
It has a docking-style base where I can place my laptop, which helps with cooling and keeps everything secure. The whole setup feels very stable, making it portable for a triple screen. I can even move the entire setup with one hand.
I used the technician support through a video call, and they showed me how simple the setup process really was.
I like being able to position the screens at different angles; horizontally, vertically, or even with full 360 degree rotation. It makes it much easier to work with my clients and share what's on my screen. The included carrying case is also a nice bonus.
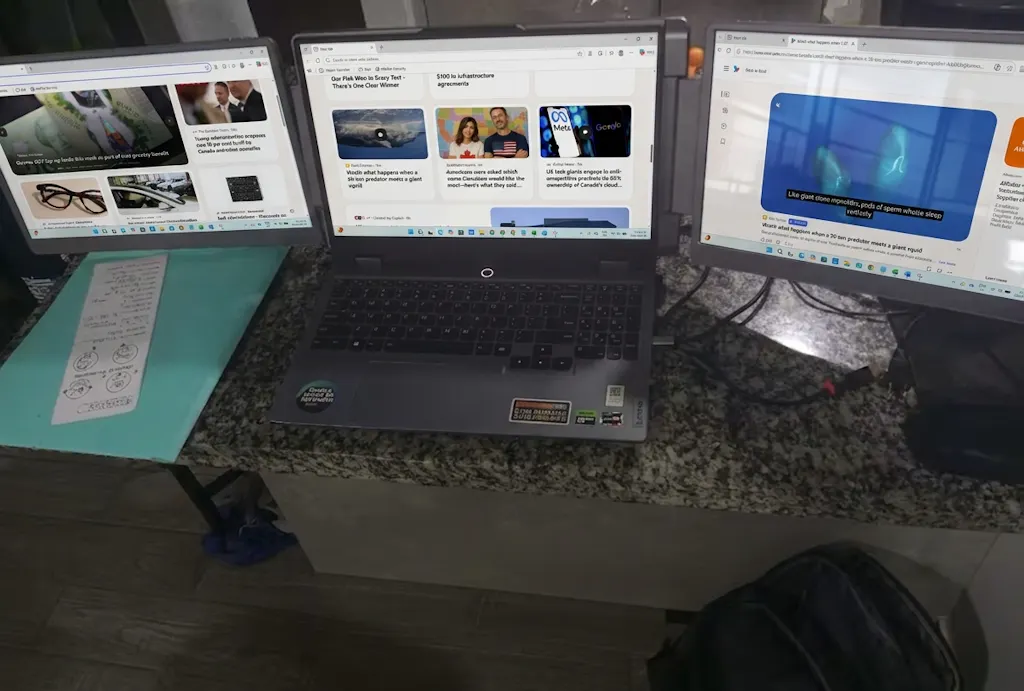
I had a monitor with a separate stand so I could position it above my laptop, but that setup was only useful for certain tasks. I recently switched to the S3 model, and I find it much more practical for multitasking. The stand is sturdy and I can adjust the screens to a comfortable viewing angle.
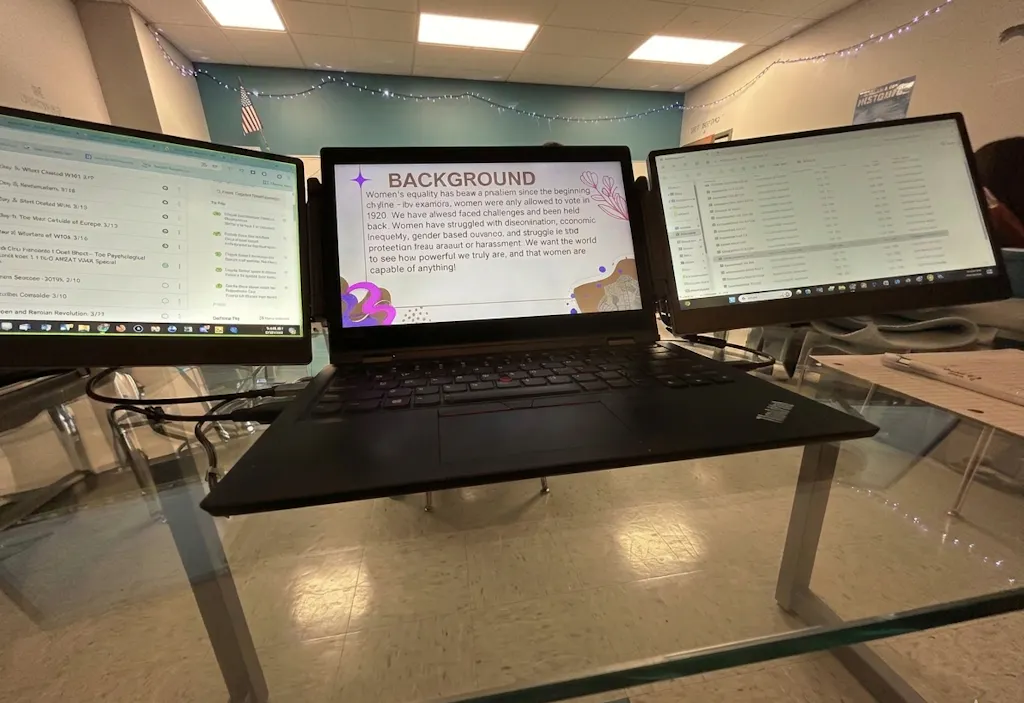
The folding design and full rotation feature are great because I can adjust the screens to any angle I want. It worked well with my Xbox, and the hinges feel very durable and solid.
Is exactly as described,
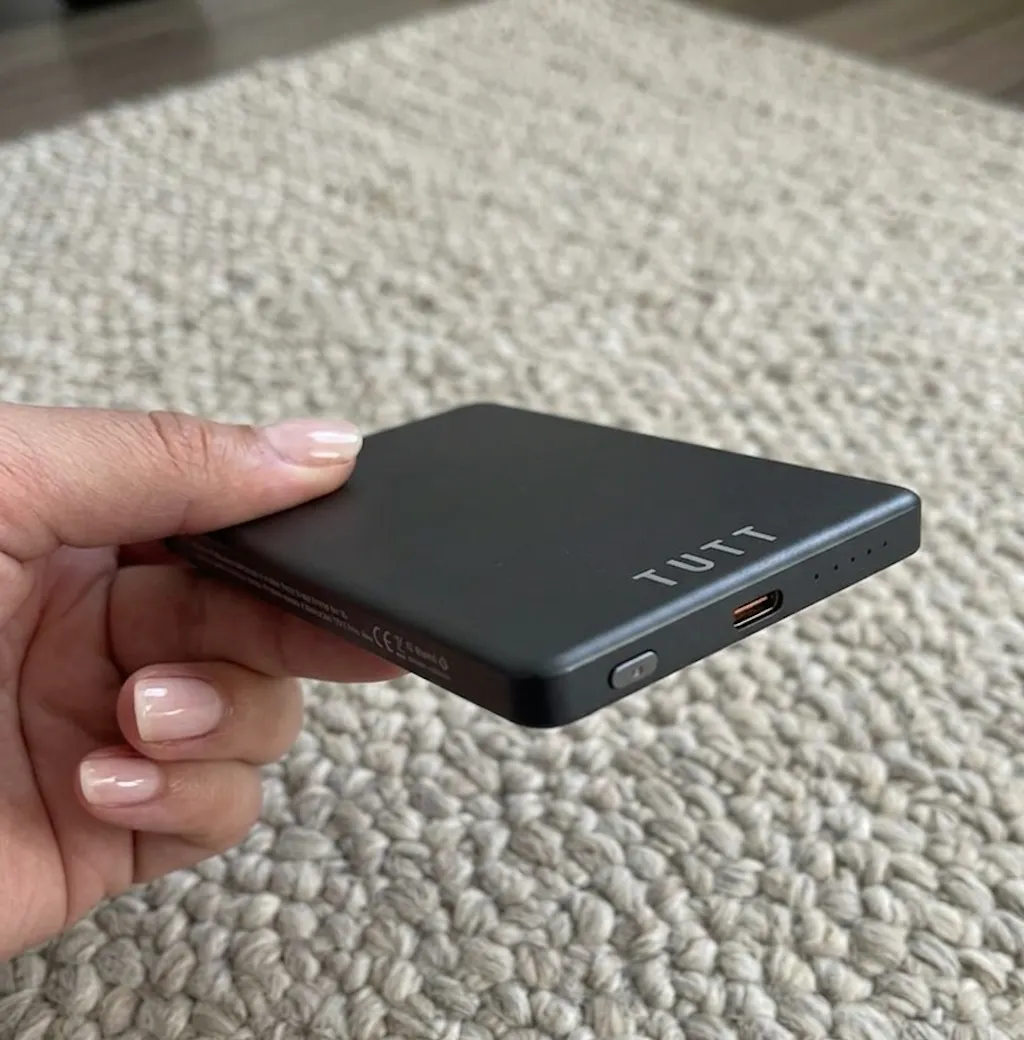
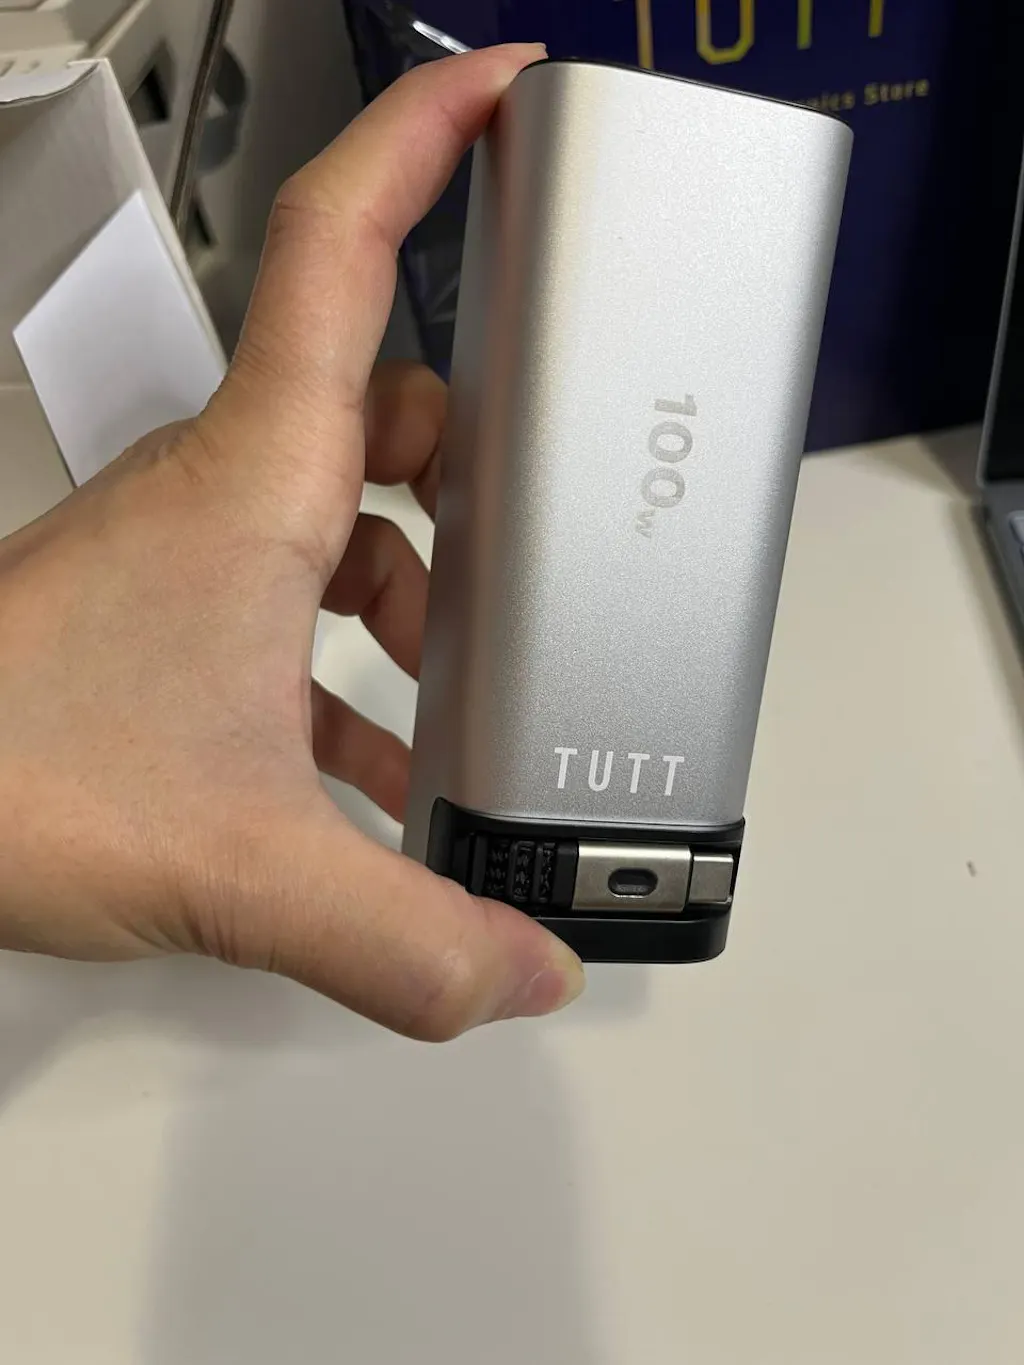
I like that it charges itself quickly. It charges phone faster than using a wall outlet.
My favorite feature is the 360° rotation. I've carried the whole setup around with the screens attached, and the hinges feel sturdy enough that I'm not worried about them breaking.
Very lightweight
Charging speed feels strong
It does not take much space in my backpack. It is powerful enough to charge my laptop quickly.
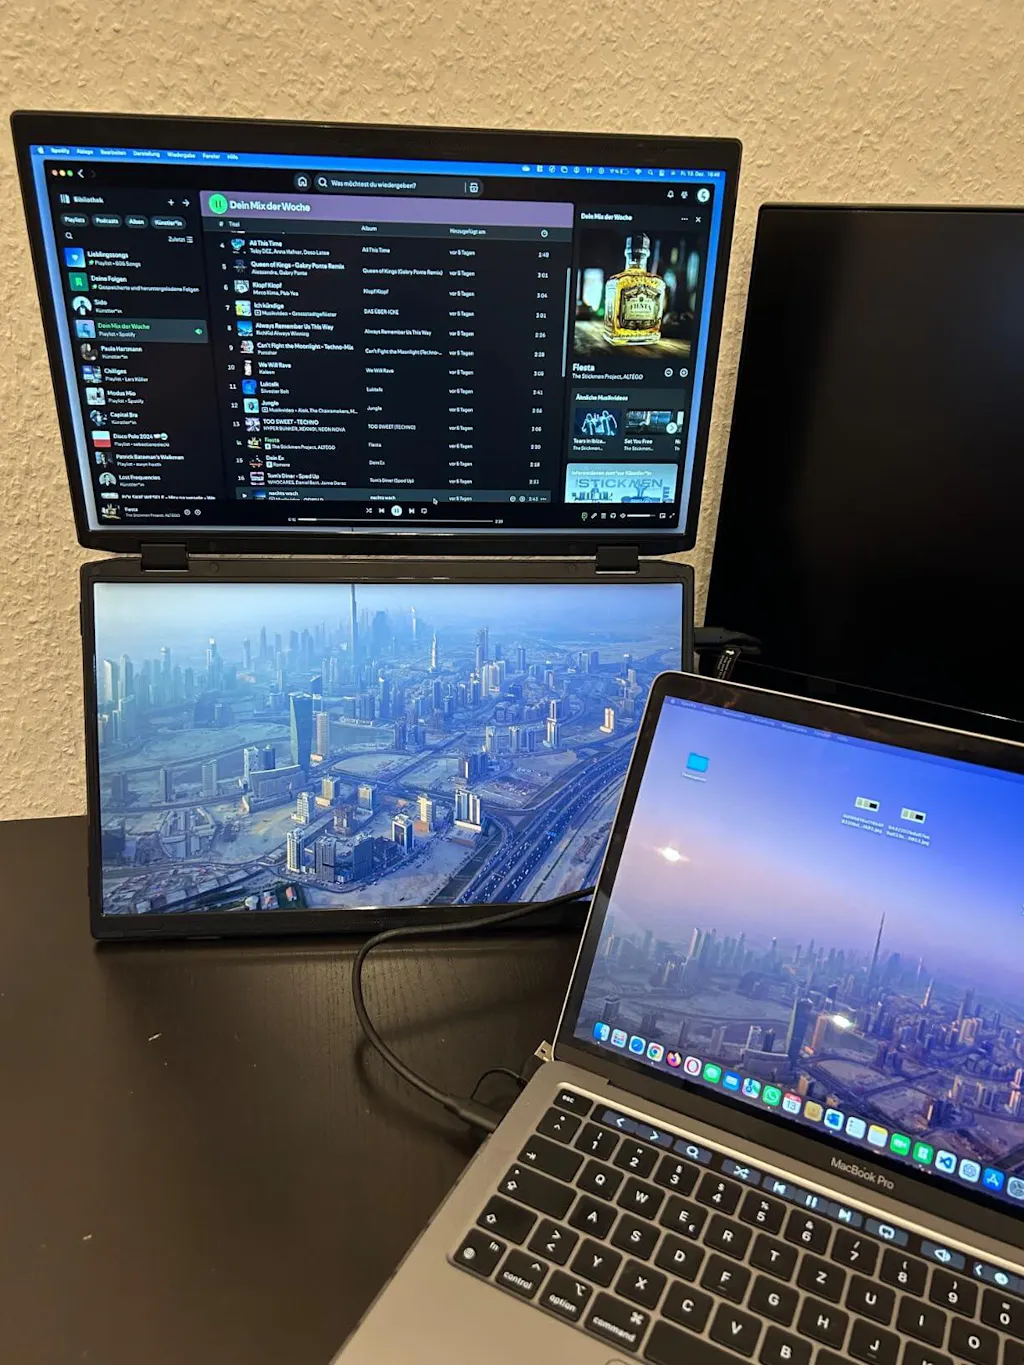
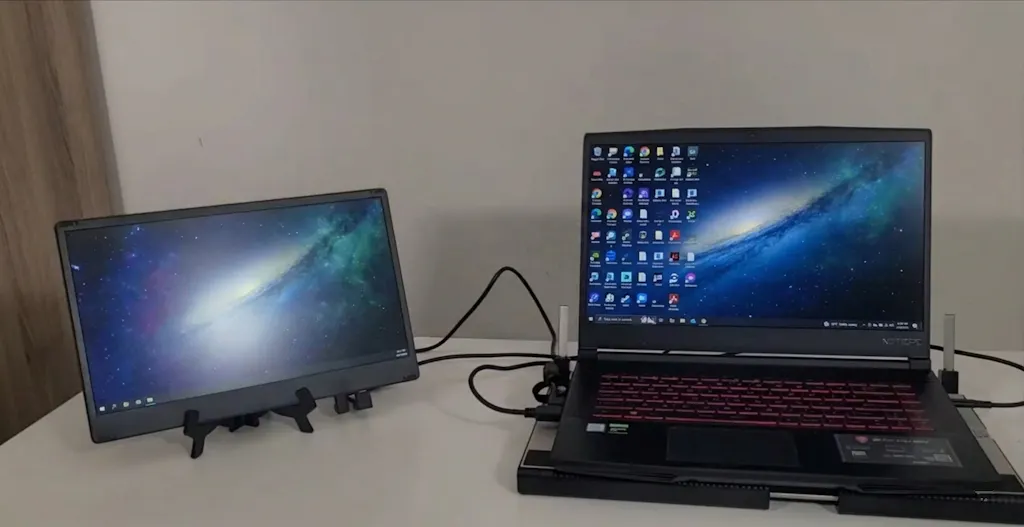
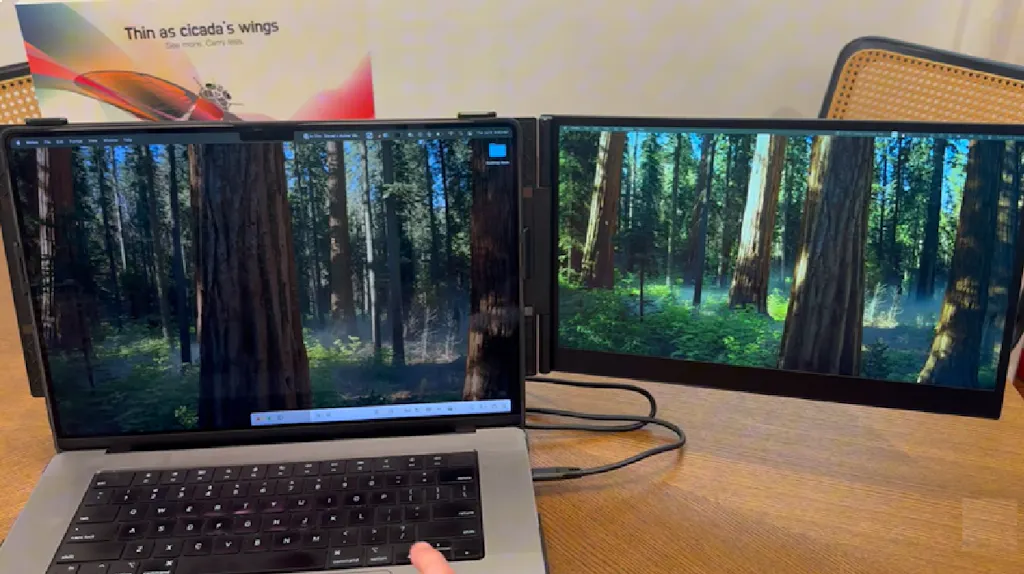
I had no worries for compatibility: it works immediately with my desktop PC and laptop. The power supply and the display go through a single cable, which is very convenient.
It worked perfectly with my Dell Vostro. I had to use an HDMI adapter because I don't have USB-C ports.
All the ports work perfectly. I have two monitors, a TV, and headphones connected, and everything works without issues. My only complaint is that the USB 4.0 cable is a bit short.
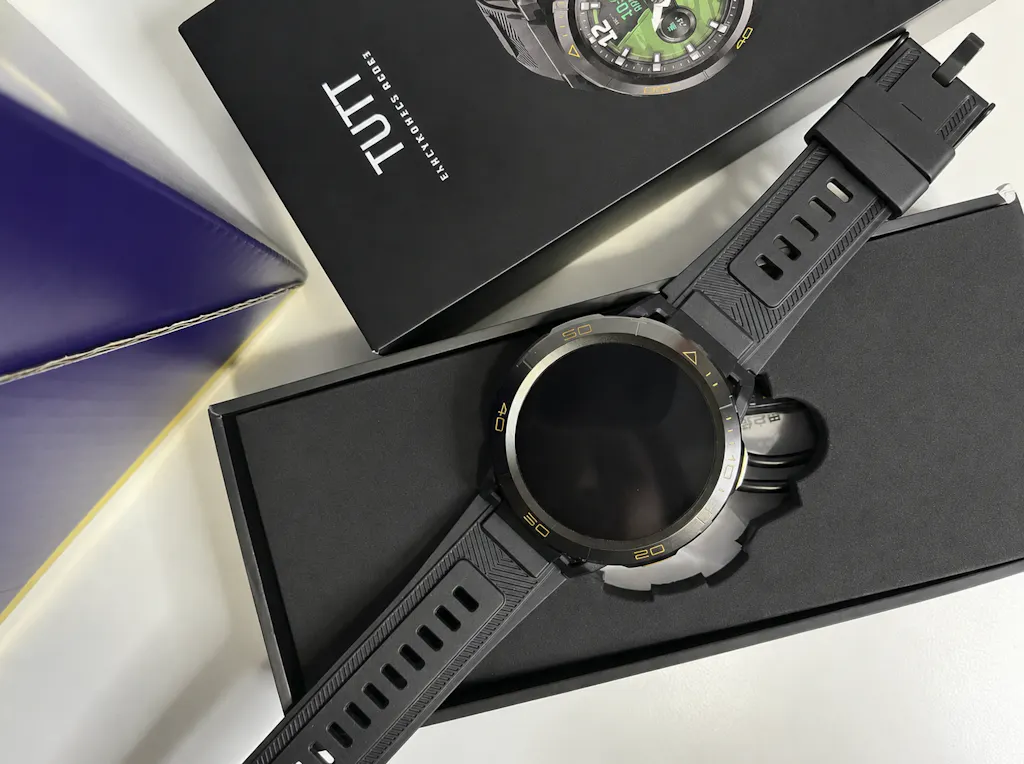
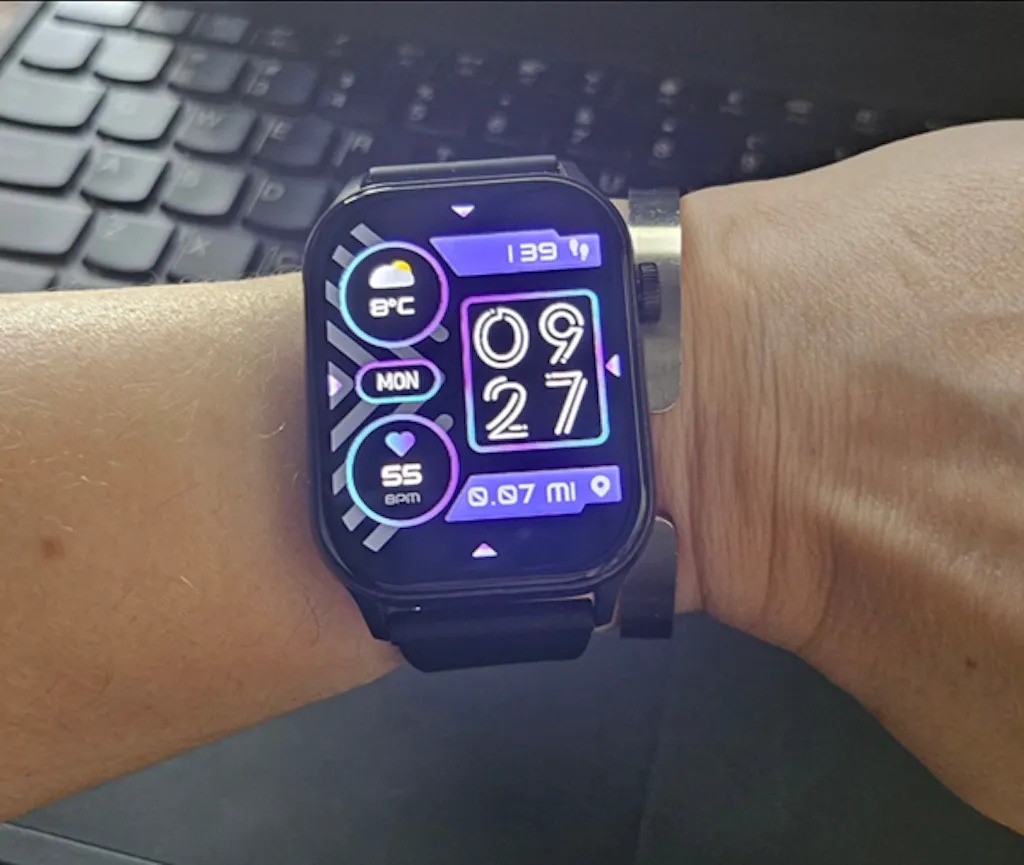
With the 4G connection on this watch, I can leave my phone in the car and not have to carry it everywhere. The GPS feature has also been useful so far.
It is a nice watch for daily use but it didn't include GPS.
It fit my 15" laptop well and I liked that no drivers were required to connect it to my MacBook.
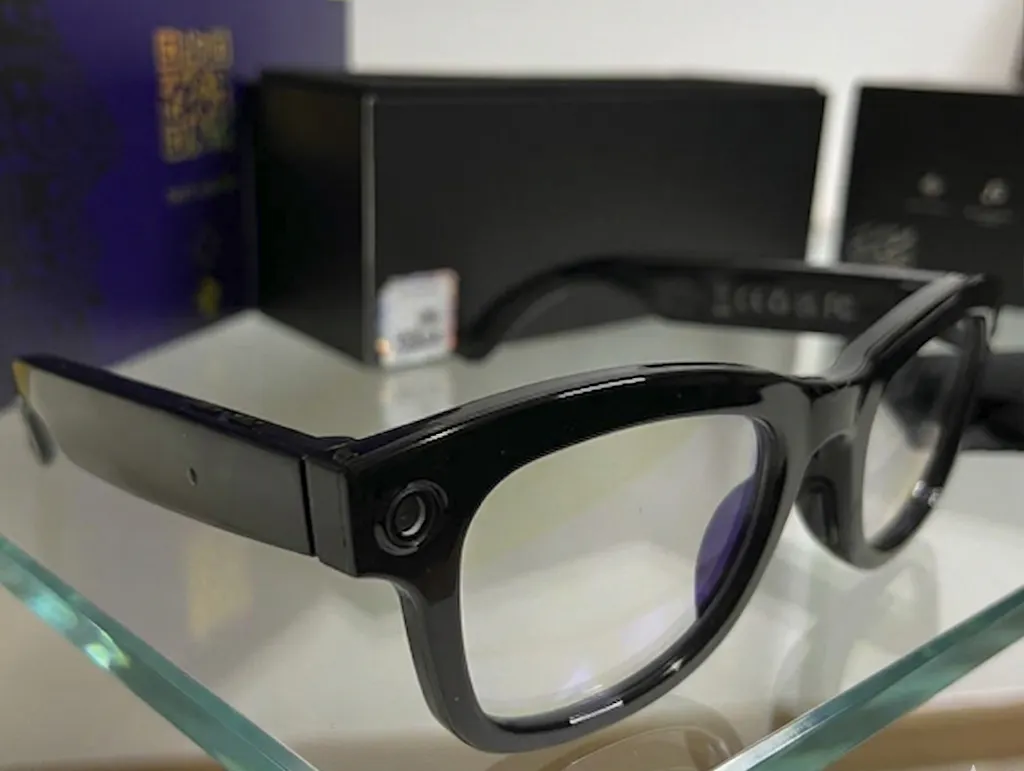
Object recognition worked well when I pointed it at signs and random products outside.
Store offers diverse tech products with fast international shipping (often DHL, 2-4 days). Customers appreciate duty-paid deliveries, professional packaging, and responsive technical support via video calls. Products include monitors, smartwatches, cameras, an...

TUTT is a Canadian consumer electronics brand within the TakCan Inc. ecosystem, supported by local operations, fulfillment flow, technical support, and connected brands including iLoop and Good Dragons.

{"one"=>"Select 2 or 3 items to compare", "other"=>"{{ count }} of 3 items selected"}